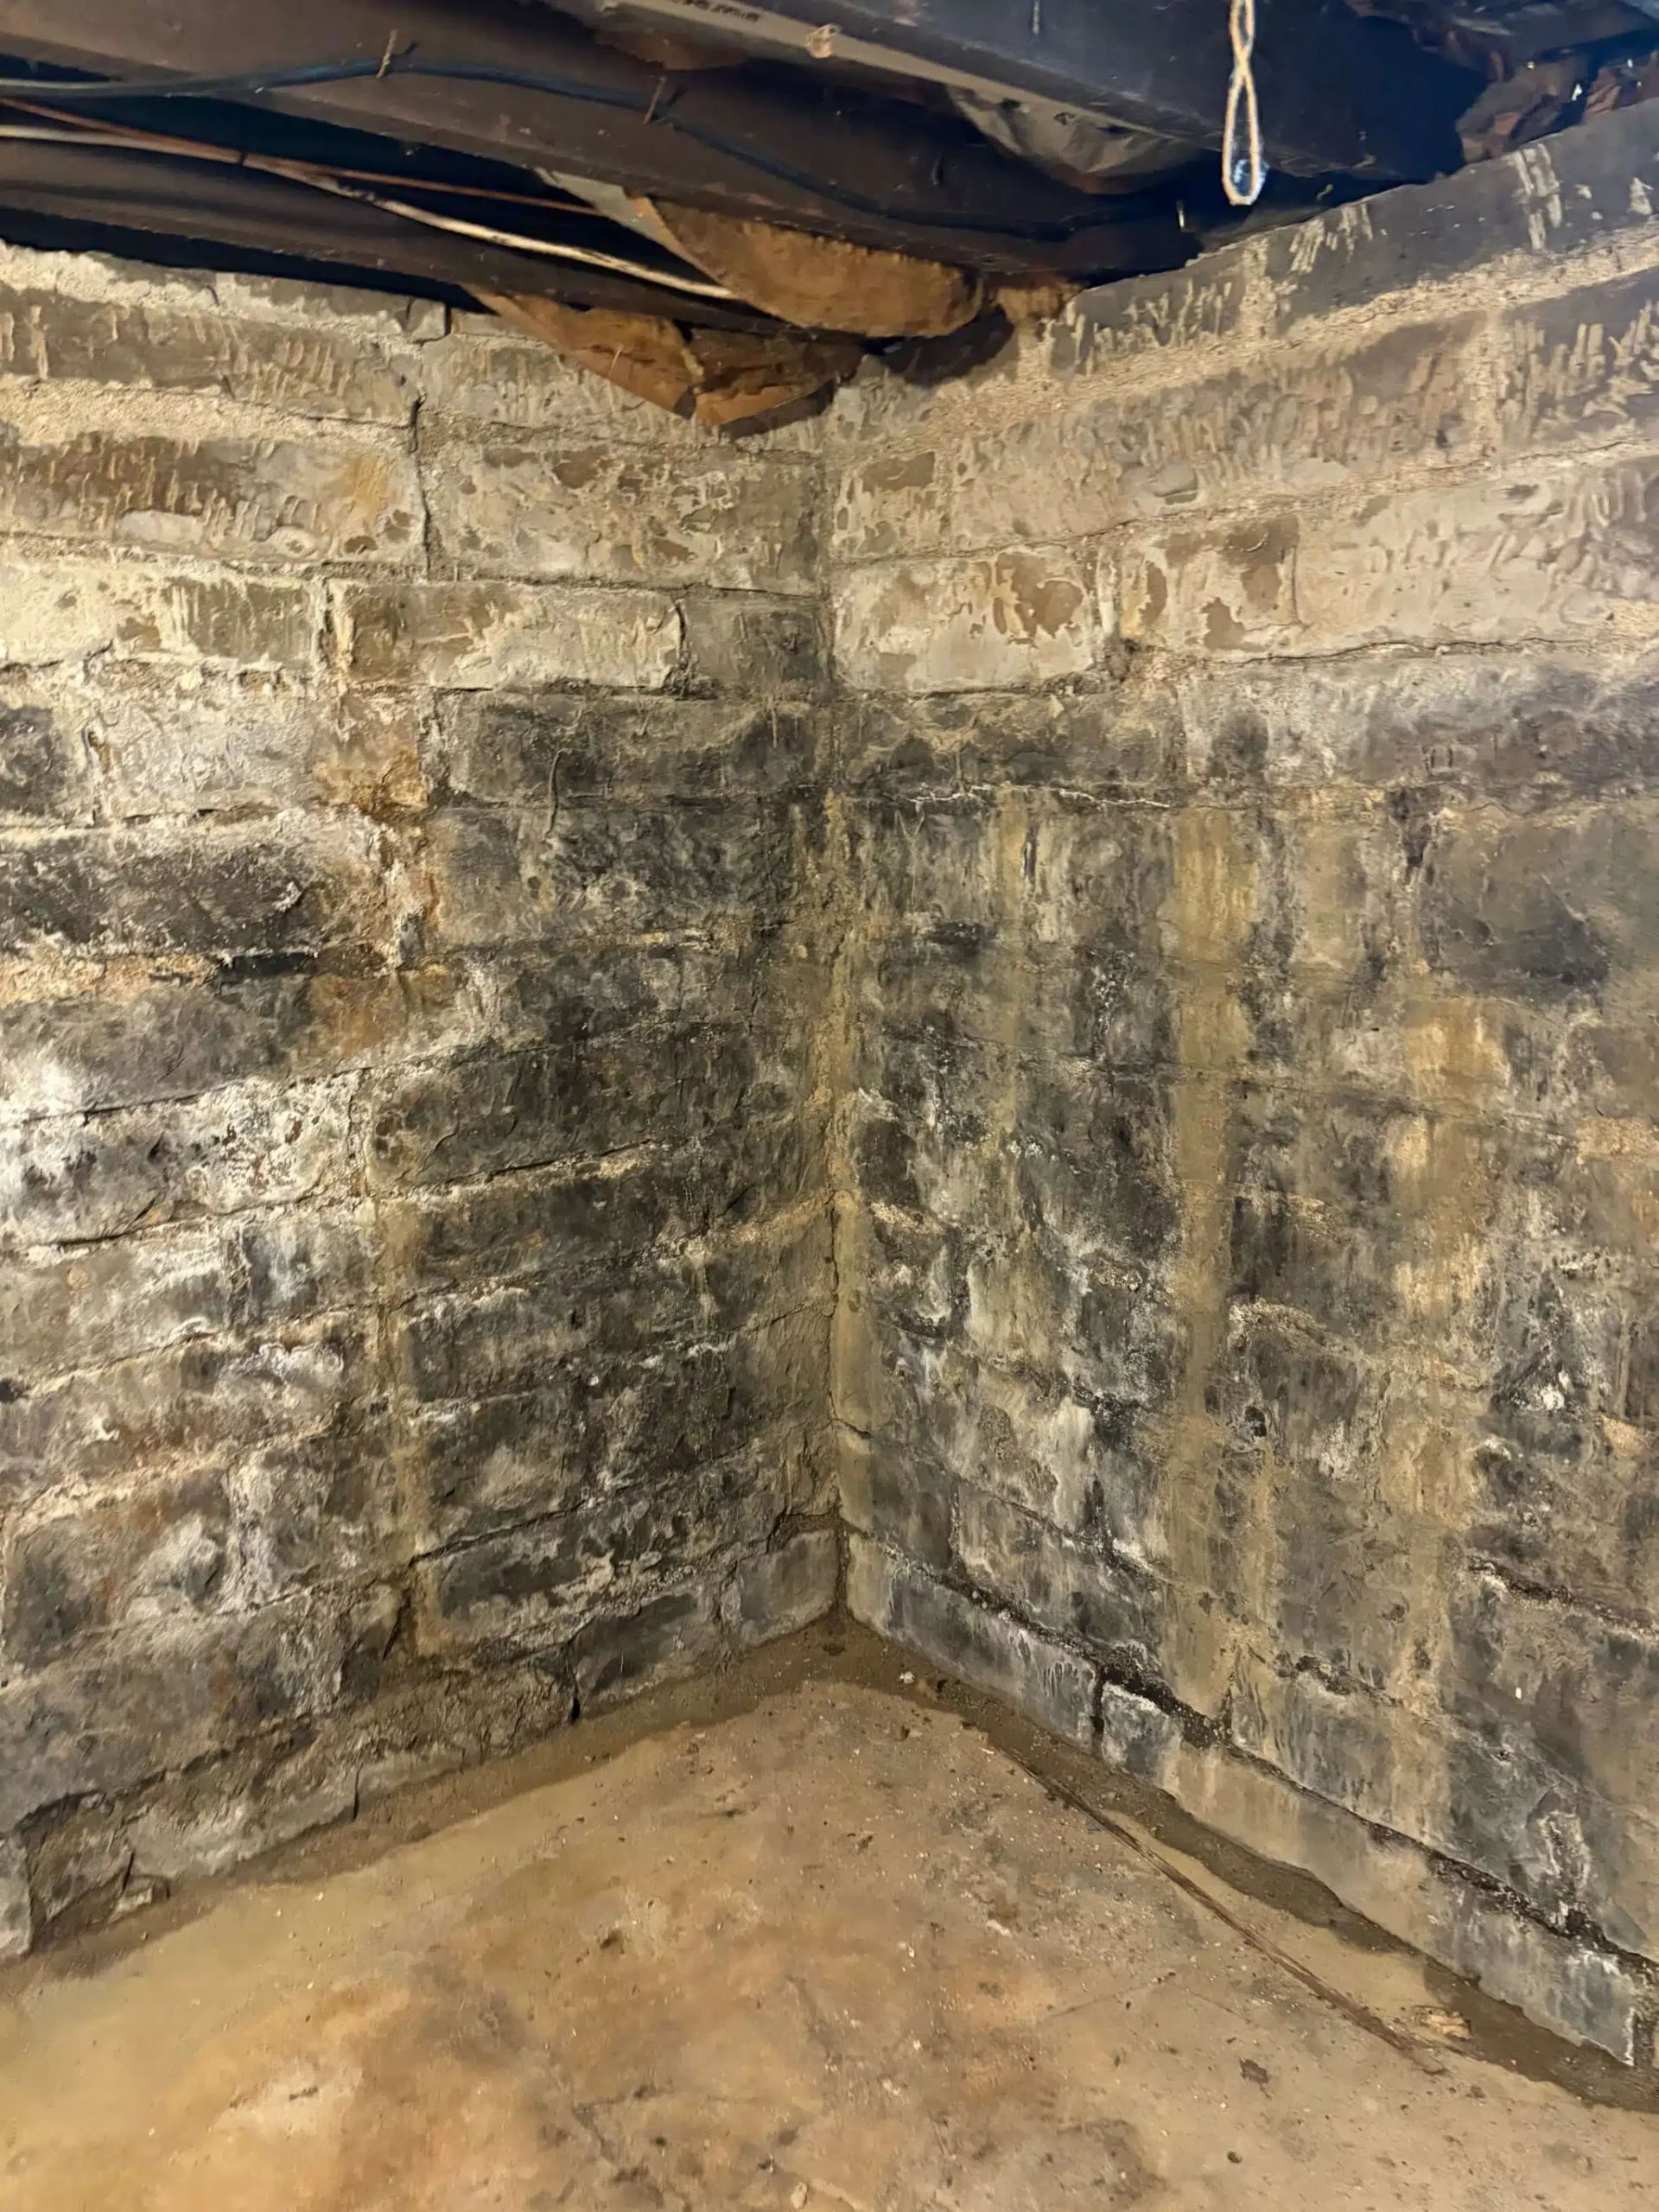
Hydraulic cement is one of the most popular DIY products for basement crack repair — and one of the most misunderstood. It can stop an active water leak in minutes, but it is not a permanent waterproofing solution. This guide explains exactly when to reach for hydraulic cement, when to skip it, and how to apply it correctly.
What Is Hydraulic Cement?
Hydraulic cement is a fast-setting compound that expands as it hardens, making it effective at plugging active leaks in concrete or masonry. It works by chemically reacting with water during the curing process. Common brands include QUIKRETE Hydraulic Water-Stop Cement and Sakrete Hydraulic Cement.
When Hydraulic Cement Works
- Pipe penetrations: Where water pipes or utility conduits enter the foundation wall, hydraulic cement creates a tight seal around the gap.
- Active cracks with slow seepage: For hairline to 1/4-inch cracks with slow, steady seepage, hydraulic cement can stop water immediately.
- Cove joint seepage: The joint where the floor meets the wall (cove joint) is a common leak point; hydraulic cement can temporarily seal it.
- Tie rod holes: Poured concrete walls have tie rod holes from the construction forms. Hydraulic cement fills these quickly.
When Hydraulic Cement Fails
The most common DIY mistake is applying hydraulic cement to structural cracks or high-volume leaks and expecting it to last. Here is why it fails in those cases:
- Structural cracks (stair-step or diagonal): These cracks are caused by soil movement or foundation settling. The underlying movement will re-open the crack around the patch within months or years.
- High water pressure: Hydrostatic pressure (the force of water-saturated soil pushing against your foundation) will eventually pop hydraulic cement out of a crack if the pressure is significant.
- Large cracks (over 1/2 inch): Wide cracks indicate structural problems that require professional repair — an epoxy injection system or carbon fiber straps, not hydraulic cement.
- Horizontal cracks: These signal serious structural failure. Hydraulic cement is not a fix. Call a structural engineer.
Hydraulic Cement vs. Other DIY Crack Repair Methods
| Method | Best For | Longevity | Average Cost |
|---|---|---|---|
| Hydraulic Cement | Active leaks, pipe gaps | 2–7 years | $15–$30 / bag |
| Epoxy Injection | Structural crack repair | Permanent (if no movement) | $100–$400 DIY kit |
| Polyurethane Foam | Active leaks, flexible cracks | 5–15 years | $50–$200 DIY kit |
| Crystalline Waterproofing | General wall sealing | Permanent | $50–$150 / bag |
| Masonry Sealer | Minor moisture, prevention | 3–5 years | $20–$60 / gallon |
Step-by-Step: How to Apply Hydraulic Cement
What You Will Need
- Hydraulic cement (QUIKRETE or Sakrete recommended)
- Cold chisel and hammer
- Wire brush
- Shop vacuum
- Heavy rubber gloves
- Mixing bucket and trowel
- Clean, cold water
Step 1: Prepare the Crack
Use a cold chisel to widen the crack into a “V” shape or undercut it (wider at the back than the front). This mechanical key locks the cement in place. Remove loose concrete and dust with a wire brush and shop vacuum. The crack should be at least 1 inch deep and 3/4 inch wide for hydraulic cement to bond properly.
Step 2: Mix the Cement
Hydraulic cement sets in 3–5 minutes, so only mix what you can apply immediately. Add powder to water (not water to powder) and mix to a stiff, putty-like consistency. Use cold water to slow the set time slightly. Wear heavy gloves — the curing reaction generates heat.
Step 3: Apply Under Active Leak
Roll the mixed cement into a cone or plug shape. Hold it firmly against the crack with your gloved hand for 3–5 minutes, maintaining pressure while it sets. For a running leak, you may need to push the plug in and hold it for the full set time. Do not remove pressure until the cement is solid.
Step 4: Finish the Surface
Once set, trowel additional hydraulic cement over the plug to create a smooth, slightly feathered finish. Allow to cure for 24 hours before painting or applying any additional waterproofing products.
After Hydraulic Cement: The Next Step
Hydraulic cement stops the immediate leak but does not address the root cause. After patching, evaluate whether you need a more comprehensive solution:
- If the crack is in multiple places or returning, consider an interior drainage system that manages water rather than trying to block it.
- If you have high hydrostatic pressure (wet soil, high water table), a sump pump system may be necessary.
- For recurring cracks caused by foundation movement, get a professional evaluation before investing in more materials.
Cost Expectations
A 10-pound bag of hydraulic cement costs $15–$30 and covers several linear feet of crack repair. A typical DIY repair for 2–3 cracks costs $30–$75 in materials. If you hire a professional waterproofer to apply hydraulic cement as part of a larger job, material costs are typically included in labor fees of $200–$500 for crack repair.
See our complete guide to basement waterproofing costs to understand how crack repair fits into the overall investment.
Leave a Reply